Jenkins Basics
Jenkins is an open-source automation server that is widely used in the field of software development for continuous integration and continuous delivery (CI/CD) processes. It provides a framework for automating various tasks related to building, testing, and deploying software applications.
In this article you will learn how to install and setup Jenkins on a CentOS machine.
Installing
In order to install you will have to run the following commands:
sudo yum install epel-release -y
sudo yum install java-11-openjdk -y
sudo wget -O /etc/yum.repos.d/jenkins.repo https://pkg.jenkins.io/redhat-stable/jenkins.repo --no-check-certificate
sudo rpm --import http://pkg.jenkins.io/redhat-stable/jenkins.io-2023.key
sudo yum install jenkins -y
You can start jenkins running:
sudo systemctl start jenkinsIn case of different system or errors you can follow the documentation from Jenkins – https://www.jenkins.io/doc/book/installing/linux/#red-hat-centos
Set Up
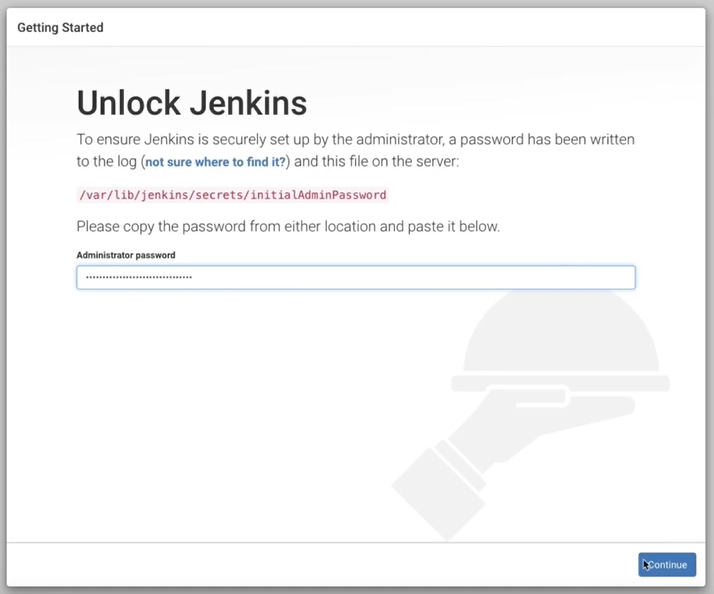
After installing you can access it via browser, but it will ask for a password for which you will have to run the following command:
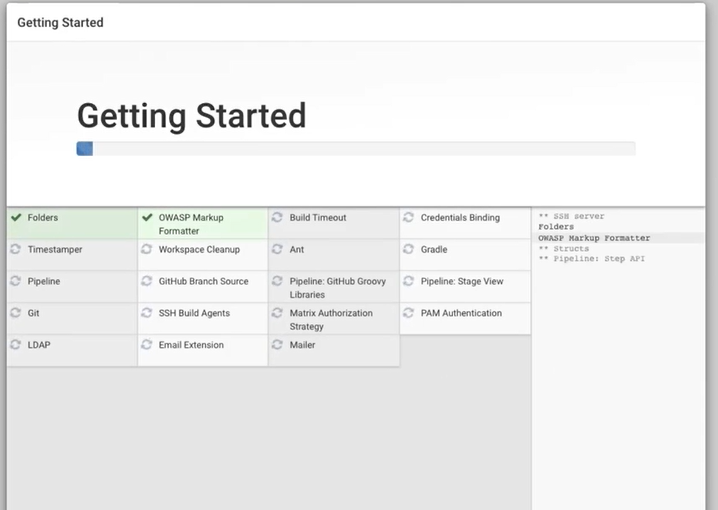
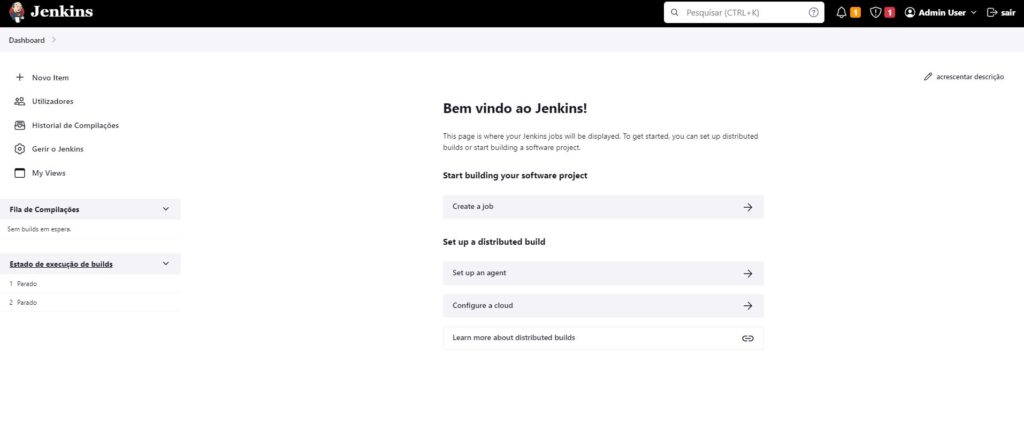
sudo cat /var/lib/Jenkins/secrets/initialAdminPasswordAnd then proceed with running the suggested plugins and features and access to the main area:
Jenkins Cli
The Jenkins CLI (Command Line Interface) is a command-line tool that allows you to interact with and manage Jenkins servers from the command line. It provides a way to automate various Jenkins-related tasks and operations, making it a valuable tool for Jenkins administrators and users.
To work with it you have to setup the SSH, we can generate and add a public key, and access it.
From there we need to download and run a jenkins jar, with the following command:
wget http://<jenkins-server-url>/jnlpJars/jenkins-cli.jar
java -jar jenkins-cli.jar -s <JENKINS_URL> COMMAND [OPTIONS...]
From there you can add the desired commands and interact with jenkins.
Jenkins Plugins
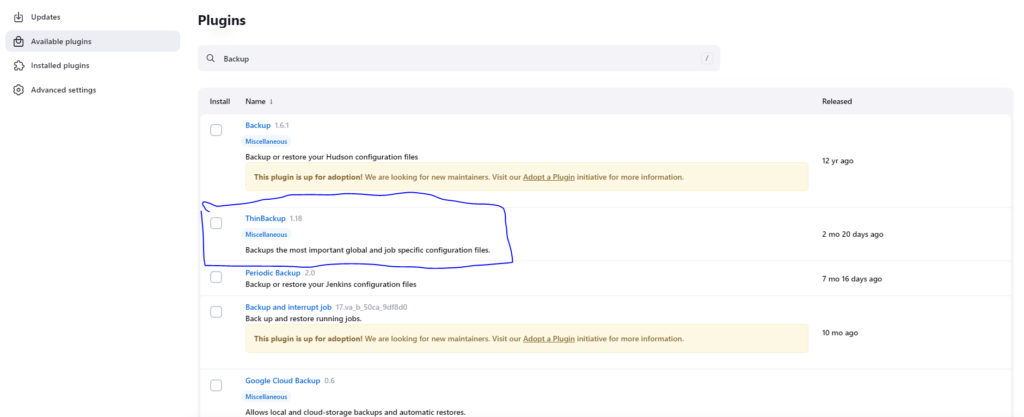
Now as in the setup there were already a lot of plugins being installed, but there are a lot more of plugins being possible to be used, you can access the plugin manager:
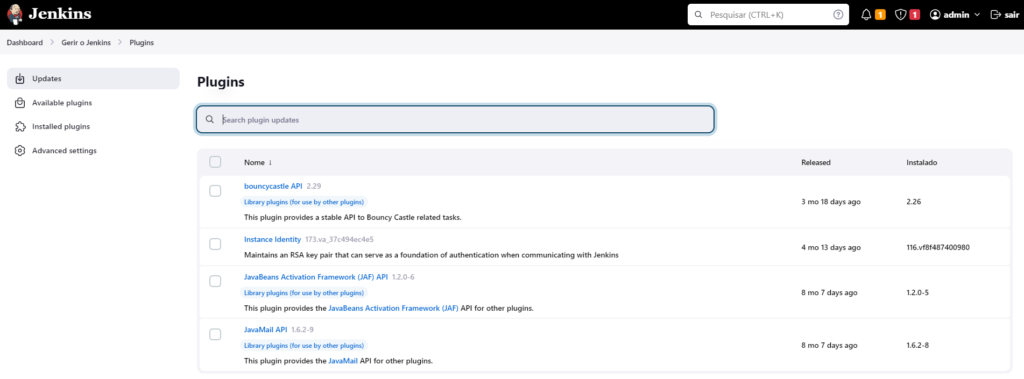
One much commonly used is for Backup and Restore, called Thin Backup.
Also if you prefer running a shell script there’s a template on github that you can check it:
https://github.com/sue445/jenkins-backup-script/blob/master/jenkins-backup.sh
Backup and Restore
Jenkins holds primarly it’s data on $JENKINS_HOME, but that’s not enough it’s necessary to have backups to avoid data loss and additional redoing of work.
For backup and restore you definitely should check for two types of files because they hold most of the structure of your work/setup. Those are config.xml (the main configuration file of Jenkins) and the jobs folder that contains all the pipelines you have made.
While backing up (with Thin Backup) you need to go to Manage Jenkins, scroll down and pick Thin Backup. After that you need to setup the settings, which means you will need to create a directory and give writing permissions to generate and store there the backups.
Besides when it comes to restoring after restoring you should restart Jenkins.
Conclusion
Now you can install, use the cli version, install plugins and backup/restore. Thus you can start using Jenkins to build your CI/CD pipelines and optimize your development and deployment process.
